
In the “About Me” section on this blog, it says I have no formal training and I probably have no business having a baking blog. I probably have no business teaching a cookies decorating class either (do as I say, not as I do haha.) However, this past weekend I taught my second one and so far (knock wood with a rolling pin) it went very well. This was a basic, level one class and everyone seemed to get a lot out of the class. Most importantly, they went home with some new skills and their own beautifully decorated cookies.
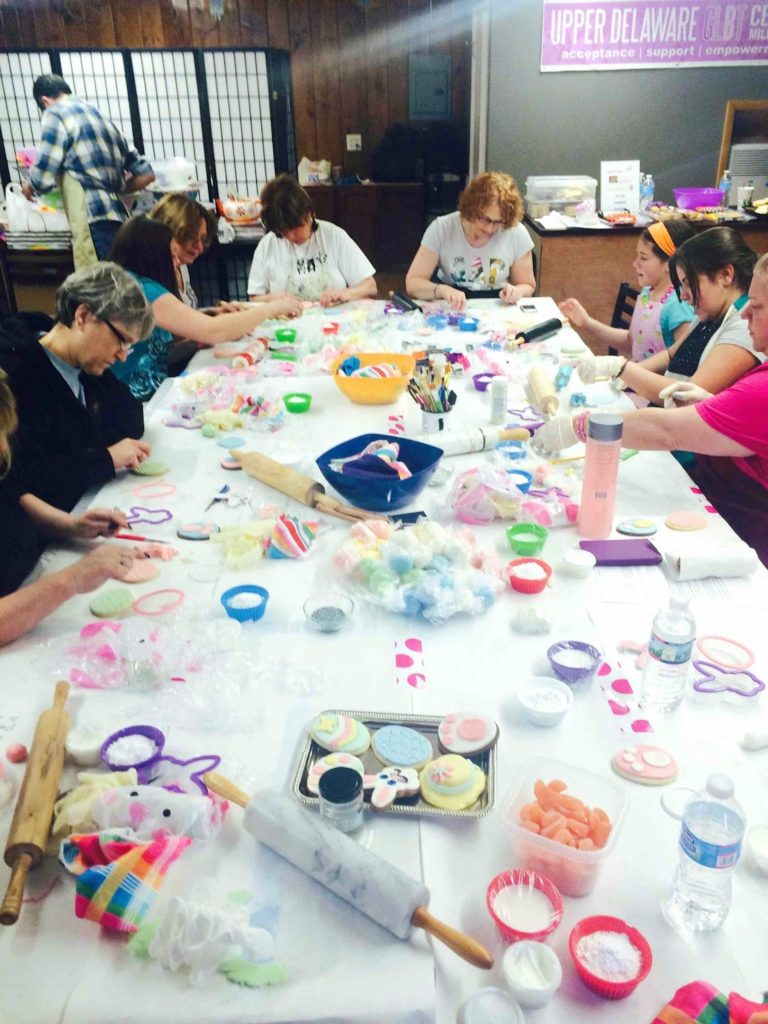
I rarely, almost never sell my baked goods but I do donate them and my skills to good causes. I am a board member of the Upper Delaware GLBT and all proceeds from these classes go to this organization. I donated my time, all the materials and each participant walked out with a gift bag full of baking and decorating supplies as well as a printout of all the recipes, instructions and tips and tricks courtesy of moi.
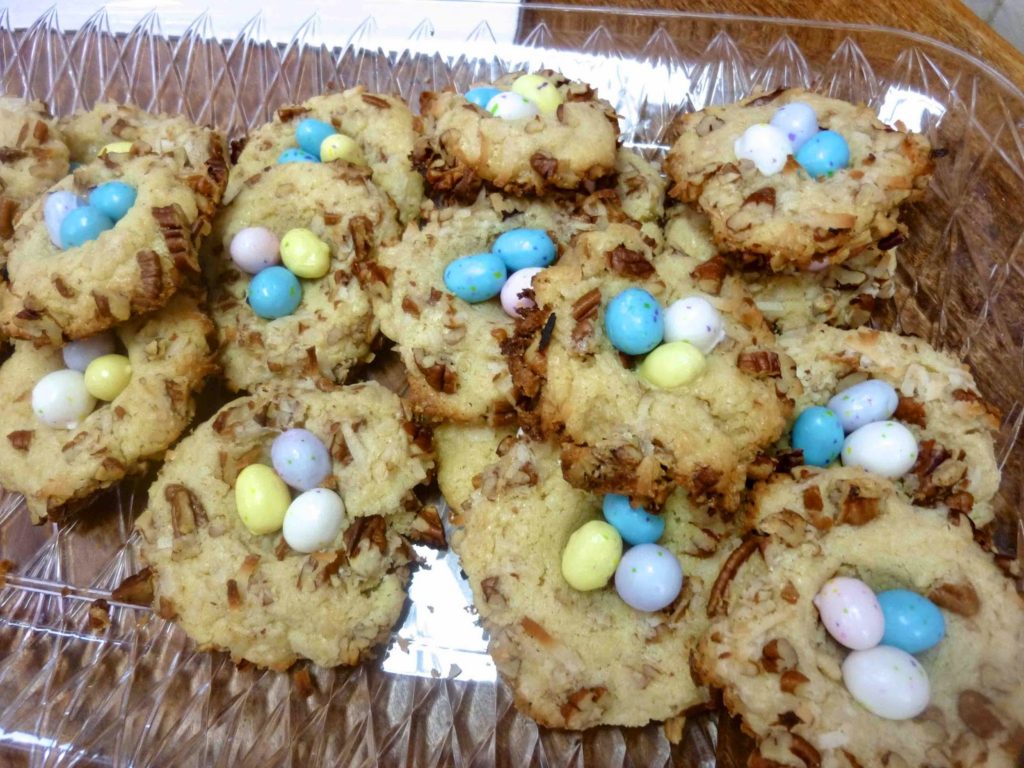 |
| I made these for the participants as a snack to reward all their hard work |
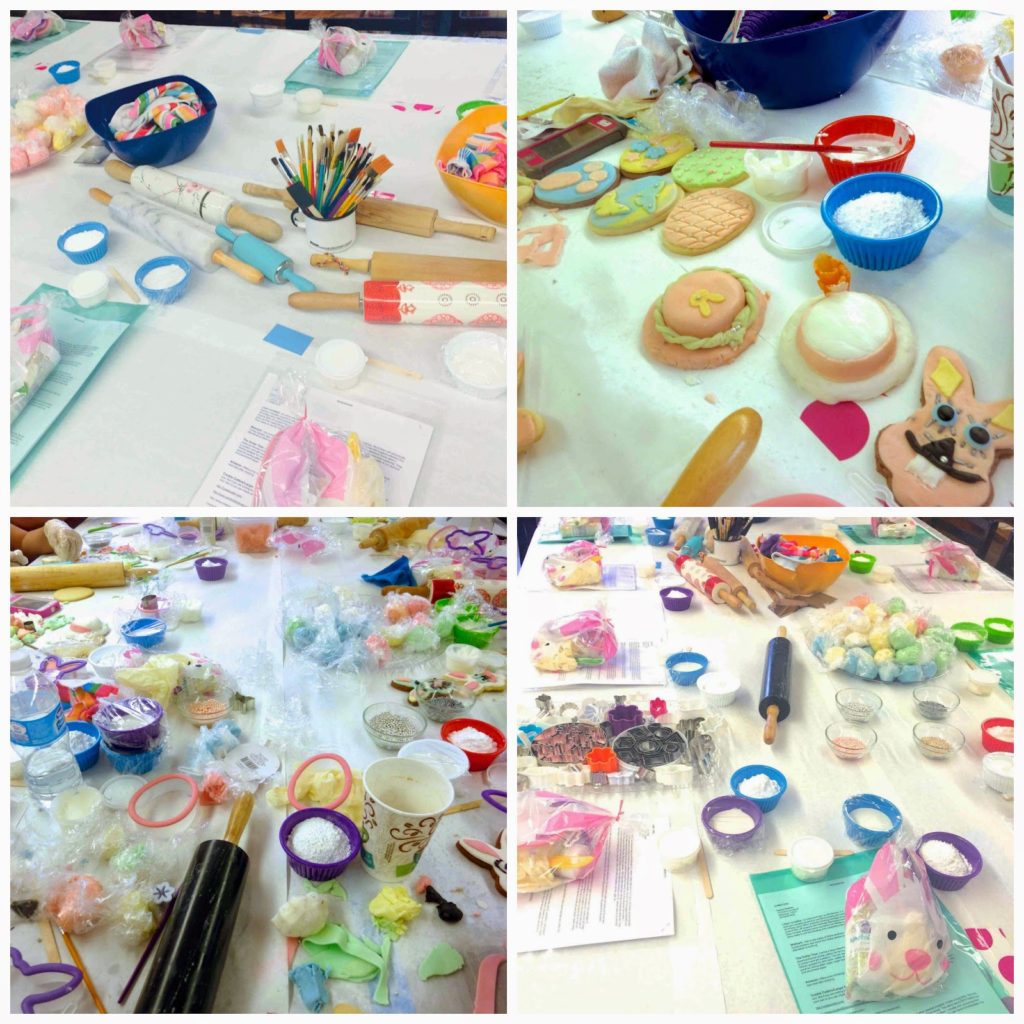
We don’t have an oven at the Upper Delaware GLBT so the class was focused on decorating, not baking. I baked all the cookies and brought them to the class along with tools, decorating supplies. I created some sample designs for the class but made it clear when the time came to turn them loose, they could improvise as much as they liked. They did and the results were wonderful.
As the class worked on their designs in the three hour allotted time, one thing that stood out for me were the several remarks of how “therapeutic” it was just to be in the class, working with sugar with three uninterrupted hours of creative time.
Amen. Starting and maintaining this blog help get me through my husband’s United Nations five year stint in Iraq. Baking and decorating baked goods was my escape, stress buster and therapy.
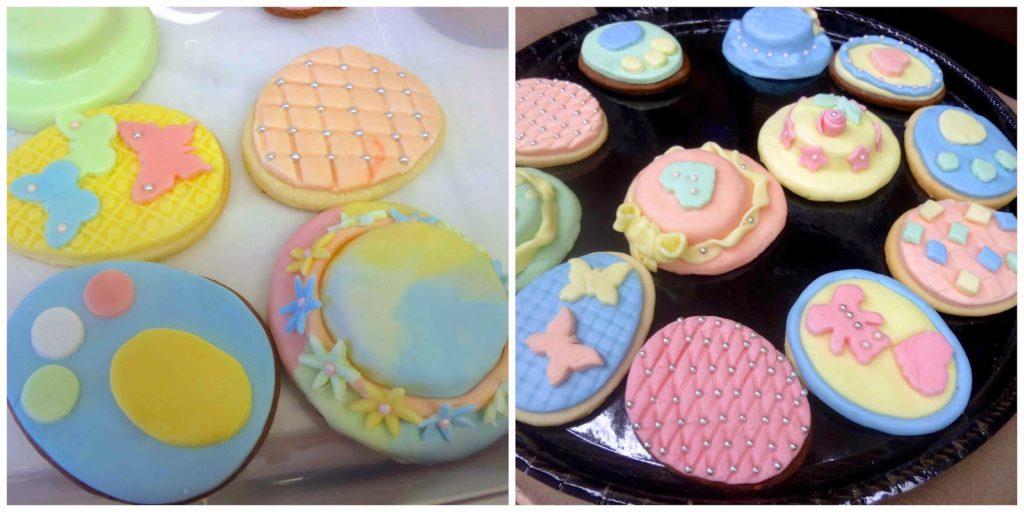
Below are the instruction for the four designs I made for class as well as a homemade marshmallow fondant recipe. Marshmallow fondant is easy and inexpensive to make at home. I’ve included some tip and tricks. The pictures are not so perfect but you get the idea.
If you have some time, want to flex your creative muscles and would like to create something special for your Easter Basket, I recommend trying this out. Just make your favorite rollout cookies (I used vanilla lemon and chocolate flavored ones for the class) and have fun.
- 8 ounces of marshmallows (plain, flavored/colored ones)
- 2 tablespoons of water
- 1 pound of powdered sugar
- Crisco or shortening
- plastic wrap or cling film
- Fit your mixer with the dough hook attachment, Cover the inside of your mixer bowl and the dough hook with Crisco or shortening. Then also grease a heat safe bowl, and a wooden spoon.
- Place marshmallows and water in the bowl.
- Microwave the marshmallows for 30 seconds at a time stirring the mixture in between with the wooden spoon.
- When the mixture is the consistency of Marshmallow Fluff, transfer to the mixer and add 2 cups of the powdered sugar.
- Continue adding powdered sugar as the mixer works, one cup at a time until fondant forms.
- Cover your work surface with your hands with Crisco or shortening.
- Dump the fondant on the greased surface and knead the fondant until all the sugar disappears.
- Wrap in plastic wrap until you use it.
- Wrap leftover fondant tightly in plastic cling film and store in a zip lock bag.
- Don’t Skimp on covering everything with shortening. This makes everything easier. BELIEVE me.
- If you are working with the fondant directly after making it, keep the remainder you are not immediately working with tightly covered with plastic. It dries out very quickly when exposed to air.
- Roll out and pre cut the pieces of plastic wrap before covering the fondant. This prevents spreading sticky marshmallow pieces on your hands on drawer handles, the scissors, the wrap box and everything else in your kitchen.
- Cover your hands with shortening before touching the finished fondant for the first time. It might be too sticky, in which case add some more powdered sugar to reduce the sticky factor.
- If you don’t have a stand mixer, you can do all of this by hand. Before I discovered I could use the dough hook method, this is how I made it. When the bowl comes out of the microwave with the melted marshmallows, mix in 2 cups of the powdered sugar with a wooden spoon covered with shortening. Cover the counter with shortening and dump the mixture out. Knead in the rest of the powdered sugar with your hand. If you want to color white fondant, knead in the color.
- If you are making BLACK fondant, use brown (chocolate) or the darkest color marshmallows you can find
- If you find the fondant has dried out spread some shortening on your hands and word it into the fondant. The heat from your hands and the shortening should reconstitute it.
- If you find the fondant is too hard to work shortening into with your hands ( if you have left it in the plastic too long), place it in the microwave ONLY FOR A FEW (5) SECONDS AT A TIME. BE VERY CAREFUL WHEN YOU TOUCH IT. It heats up quickly and you can get a nasty burn. Microwaving hard fondant will make it very soft again.
- To repair a crack on a finished piece of work. Dip your finger in water and gently rub the cracked area. This should fix it.
- To adhere fondant pieces to fondant, moisten your fingertip with water or shortening and run it under the piece you want to stick on the larger piece then place the piece on the fondant.
- If you prefer a wet look on your finished fondant project. Lightly spray with baking spray and use a soft brush to spread it around. This will make it shiny.
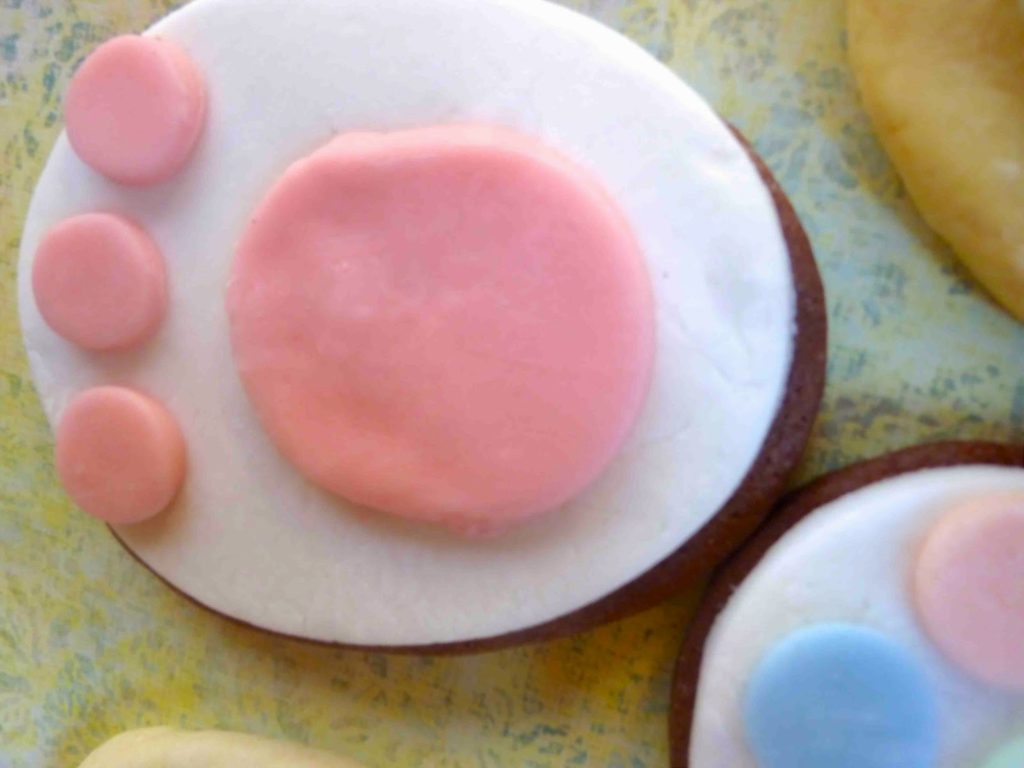
- Make your favorite rollout cookie recipe. Use an egg shaped cookie cutter to cut out egg shape.
- Roll out a piece of white fondant and use the egg shaped cutter to cut out pieces.
- Brush the entire cookie with a light coating of royal icing.
- Place the white fondant piece on the cookie and smooth it out.
- Roll out pink colored fondant and using small cutters or a sharp knife cut out teardrop shaped pieces, one large, two medium and one small.
- Flip the cookie to the wider side is on top and place the largest piece of pink fondant on the bottom part centering it. Use shortening to adhere it if the fondant is too dry.
- Place the medium sized piece in the middle towards the top and the smaller pieces on either side.
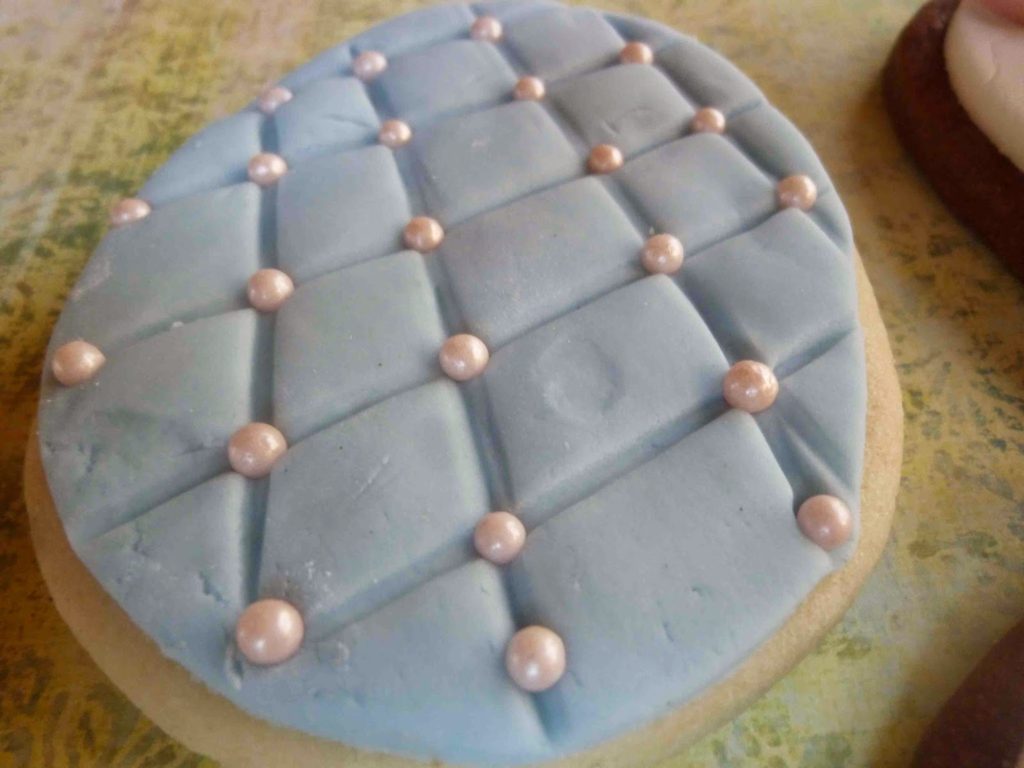
- Roll out fondant and cut the shape using the same egg cutter as you did for the cookie. the same size and shape as the cookie cutter.
- Adhere the fondant to the cookie.
- If you have a plastic quilting tile, press it into the fondant. If not, use a popsicle stick to score the fondant evenly.
- For an accent, place sugar pearls where the lines cross in the fondant. Press them in.
- Make your favorite rollout cookie recipe. Use an egg shaped cookie cutter to cut out egg shape.
- Roll out a piece of fondant, any color you choose and use the egg shaped cutter to cut out pieces.
- Place the fondant piece on the cookie and smooth it out.
- Sculpt and cut out individual pieces using small cookie or fondant cutters to make what ever design you like (striped, polka dotted, flowers. etc.)
- Use shortening or water to adhere the designs to the cookie.
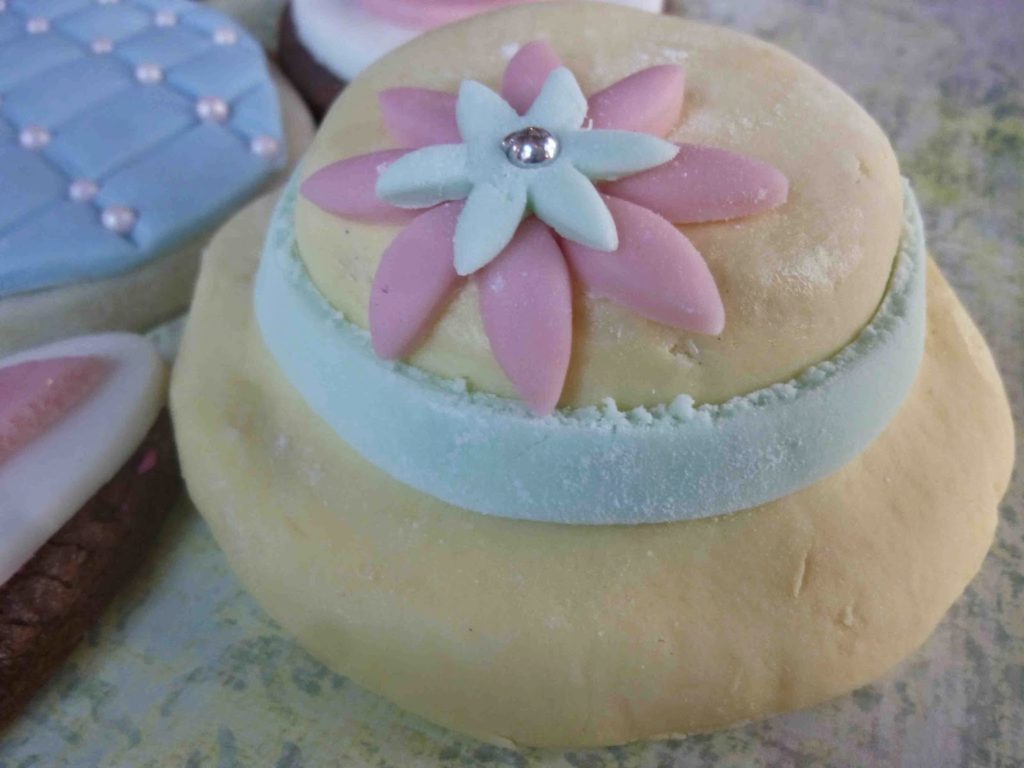
Easter Bonnet Cookie Design
- Use two different circle, flower, square sized cookie cutters (at least 1 size in between) and make your favorite rollout cookies.
- Use Royal icing to glue one or more of the smaller pieces to the middle of the large cookie. The higher you want your hat, the more small pieces to glue (ice) together.
- Brush the entire cookie structure with a light coating of royal icing.
- Roll out the fondant into a circle and place over the entire cookie structure. Use a sharp knife to trim.
- If desired, cut a long strip of fondant to wrap around the smaller piece(s)
- Use small cutters and/or a sharp knife to cut our designs from different colored fondant and press on the bonnet using shortening as glue.
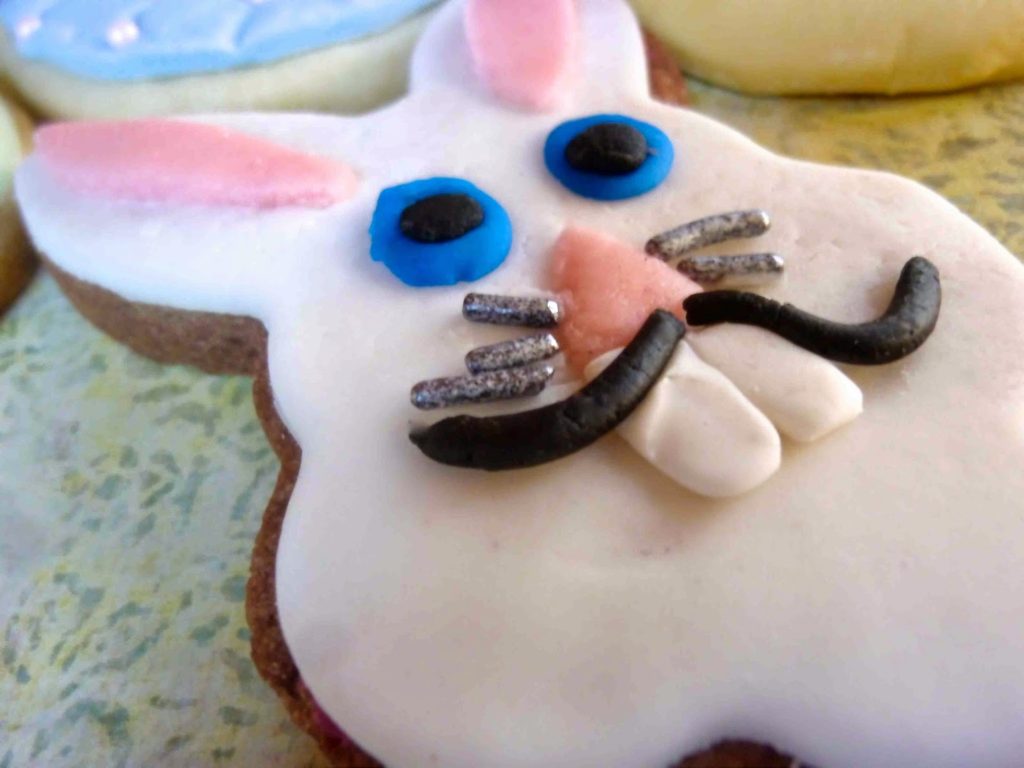
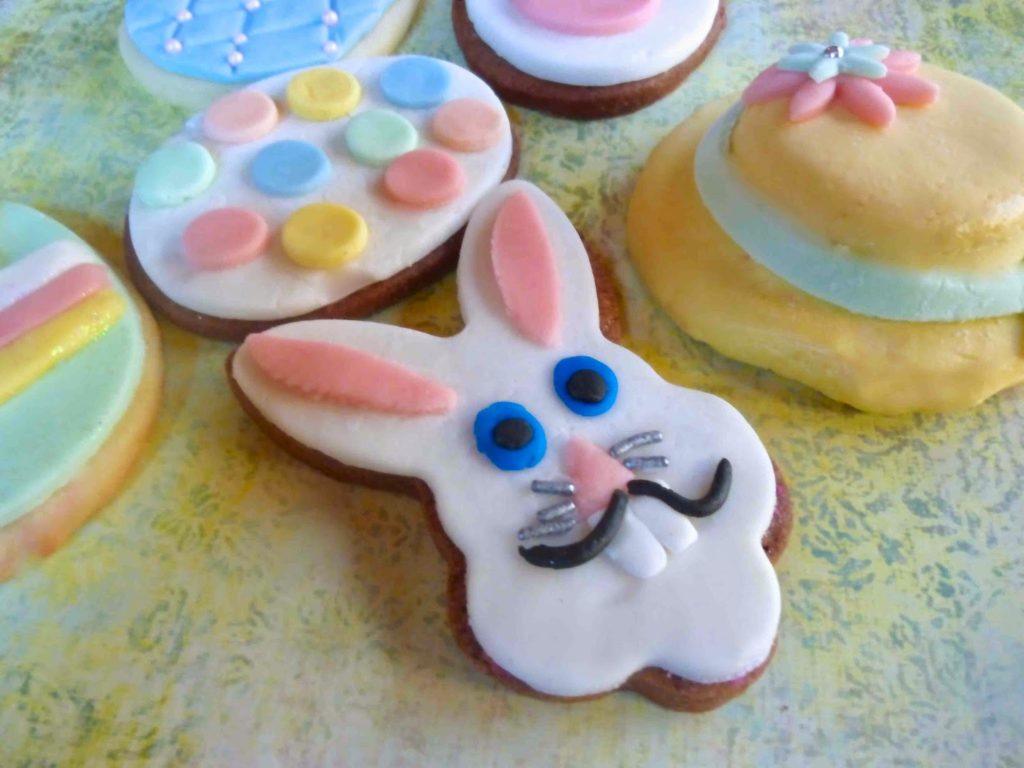
- Make your favorite rollout cookie recipe and use a rabbit head cutter to make cookies. Let cookies cool completely.
- Roll out white fondant and use the cutter to cut the same shape as the cookie.
- Brush the entire cookie with a light coating of royal icing and adhere the white fondant to the cookie. Use a sharp knife to trim.
- For the Ears and Nose – Use pink fondant. Cut the inside ear shapes out and a small triangle for the nose. Adhere to the white fondant using a dab of water.
- For the Eyes. – Cut a larger blue oval and small black or brown circle. Layer them in that order using shortening or water to adhere them on top of each other and place them for eyes.
- For the Whiskers – use black, brown or silver sprinkles and dab them with shortening and arrange on either side of the nose.
- For the mouth and teeth. Cut two very small rectangle shapes out of white fondant for the teeth. Use shortening or water to adhere them. Take two small pieces of black or brown fondant and roll them out into very thing strings. Drape on either side of the teeth and press.
2 comments
Thank you for sharing your cookie decorating class with us! I need one badly because I cannot decorate a cookie to save my life. Your Easter cookies are gorgeous and I'm in love with your goofy rabbit. I smiled the minute I saw him!
Love this post!!! the workshop looks so creative. I especially love the wabbit – but who could eat such a character? Would love you to do a workshop in California!! Any plans??