

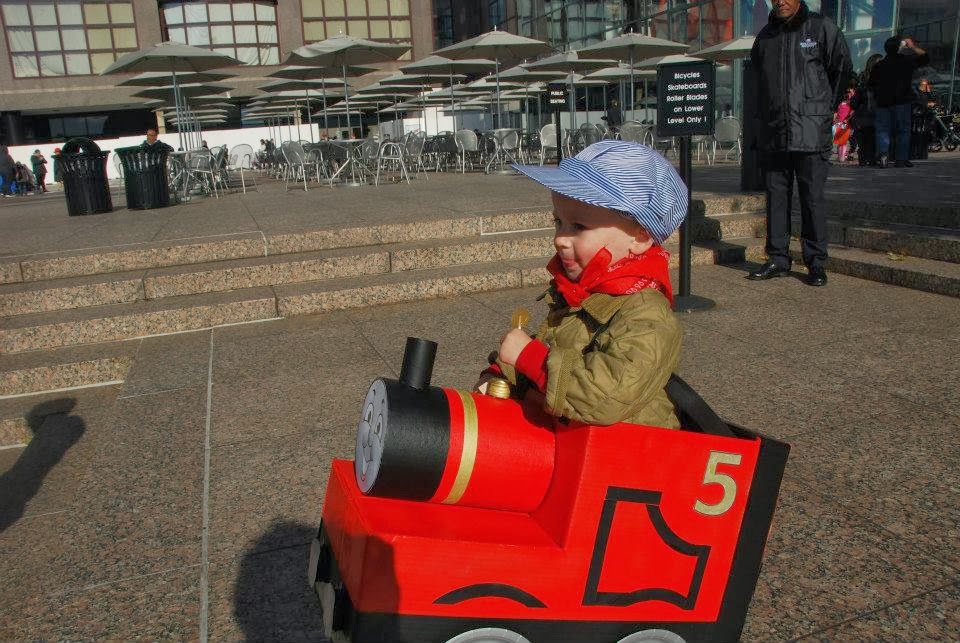
Recently, it was the birthday of one of our favorite weekend guests. Train obsessed like other little boys, he’s spent endless hours playing train games and looking at pictures of them in addition to watching real ones. At three years of age he can tell you what subway to take where and recites the stops in order. A little train genius that one and cute as a bug in a rug. His halloween costume this year? Yes, Thomas the Train.
The request for these Thomas the Tank Engine cookies came from his mother for his third birthday party. I nervously rose to the challenge because I am not that gifted with decorating sugar cookies and don’t at all consider myself a cookie artist. What some cookie decorators do freehand with a bag of royal icing, I usually cheat and use fondant or sugar accents. I was upfront with the cutie pie’s mom. The detailed train cookie she originally wanted I wouldn’t even attempt with out a Kopycake projector which I have yet to acquire and learn how to use.

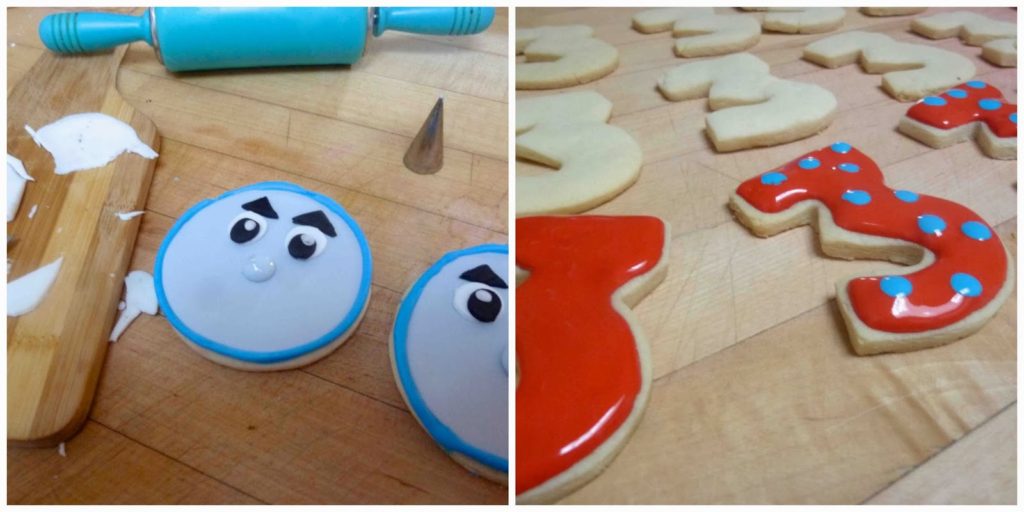
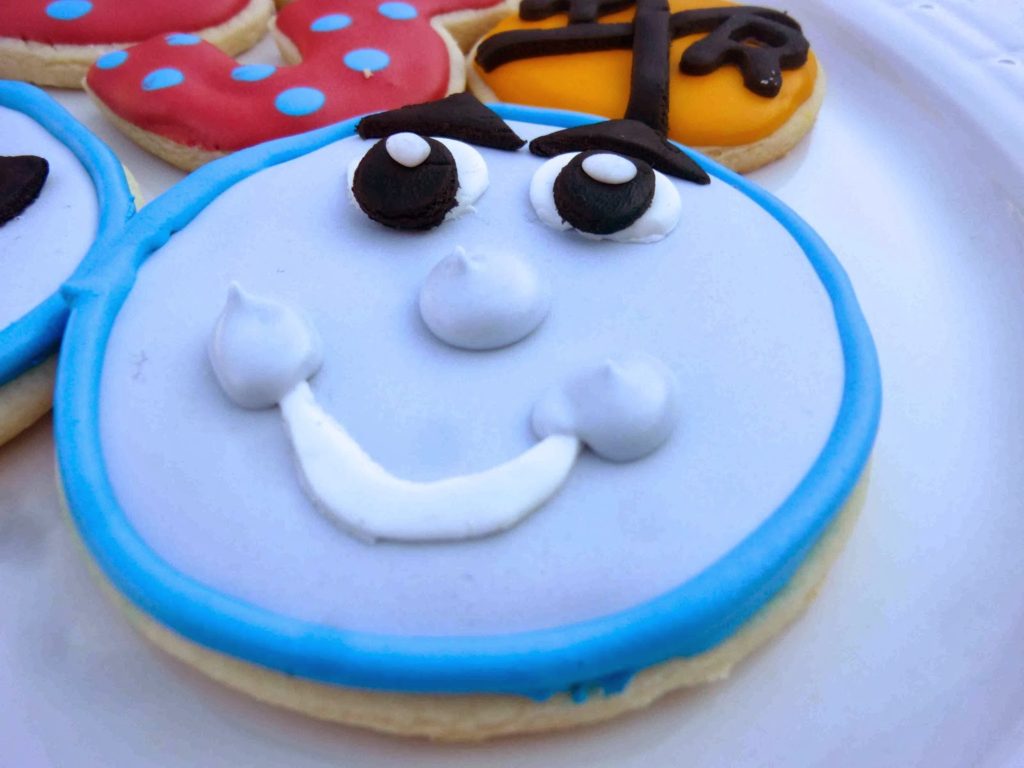
So the cookie planning commenced and since I’ve only peripherally heard of Thomas the Tank Engine (a casualty of a childless household) I asked for some guiding images. I agreed to the simpler ones, the “3” and the railroad crossing cookies because I could easily visualize how to do them and fall back on fondant accents. The face definitely scared me. But I wanted to push my comfort zone a little. Still, I couldn’t help but think, “What if the kids at the party didn’t recognize the cookie is Thomas? ” I needed to chill. The party was for a bunch of three year olds after all. Anyway, my fear got blown away when mom and son came to pick up the cookies. “Thomas!” he exclaimed when he saw the face cookie. Whew! My work was done and now I am officially over my Thomas the Tank Engine cookie terror.

For the Face cookies, I used a large round cutter and outlined and filled the cookies with royal icing tinted with blue and black to make a light blue grey color. The eyes, eyebrows and mouths all were cut out of homemade black and white marshmallow fondant and applied on top of the grey when the cookies had dried completely (approximately 24 hours). The cheeks and nose were created with the same grey icing I used on the face, just mixed a bit stiffer.

For the “3” cookies I used the polkadot wet on wet technique also found at Bake at 350 first outlining and filling in the red color and immediately adding the blue dots on top of the red.

For the Signal Cookies, I outlined and filled a round cookie with yellow royal icing and then out of homemade black marshmallow fondant, I cut out “R”s using a small alphabet cutter and cut black fondant strips for the X. When the cookies had dried (approx. 24 hours) I applied the fondant accents.

For homemade marshmallow fondant:
- 1/2 bag (1/2 pound) marshmallows (minis melt easier but you can use regular sized ones as well.)
- 2 tablespoons of water
- 1 pound of powdered sugar
- Crisco or shortening
- plastic wrap or cling film
- Gel or paste food coloring
Directions:
- Cover the inside of a heat safe bowl and a wooden spoon with Crisco or shortening.
- Place marshmallows and water in the bowl.
- Microwave the marshmallows for 30 seconds at a time stirring the mixture in between with the wooden spoon.
- When the mixture is the consistency of Marshmallow Fluff, stir in 3/4 of the powdered sugar one cup at a time.
- Cover your work surface with powdered sugar and cover your hands with Crisco or shortening.
- Dump the fondant on the sugared surface and knead the rest of the sugar in.
- Separate the fondant into different parts and color as desired by adding a few drops of gel colors at a time and kneading it in until the color is evenly distributed and you get the color you want.
- Wrap each piece in plastic wrap until you use it.
- Wrap leftover fondant tightly in plastic cling film and store in a zip lock bag.
4 comments
They are the coolest little cookies, my boys would have loved them.
These are adorable and the little birthday boy is just precious. I did Thomas the Tank Engine cookies several weeks ago (yet to post) for a little boy who turned 1 and love all things Thomas! I *cheated* though and used edible images. I love how yours turned out. Luckly little birthday boy.
These are art – how can you eat them?? Really wonderful idea with amazing execution!! YOu must have made that little boy very happy…
Oh my gosh! These are so cute! LOVE them!