

As most people know, last year’s Halloween got Sandy-ed for most of us on the East Coast. For two weeks I was running around between NYC, PA and MA and Long Island dealing with power outages, the displacement of my octogenarian mother, a non functioning office and various other issues.

When everything settled down, what was left of Halloween for me consisted of carousing the sad 75% off leftovers at various stores after the fact. To cheer myself up, I stocked up on Halloween-themed decorations, party and baking supplies. I packed everything up and stored it away optimistic all the fun would be restored the next year.

Next year is here. In the meantime I had completely forgotten about these EEK and BOO cutters and, admittedly, most of my purchases until I unpacked everything recently. It was like Christmas morning. So many cute cutters, decorations and cupcake wrappers, halloween themed sprinkles. Good thing as I have a lot of baking commitments coming up.
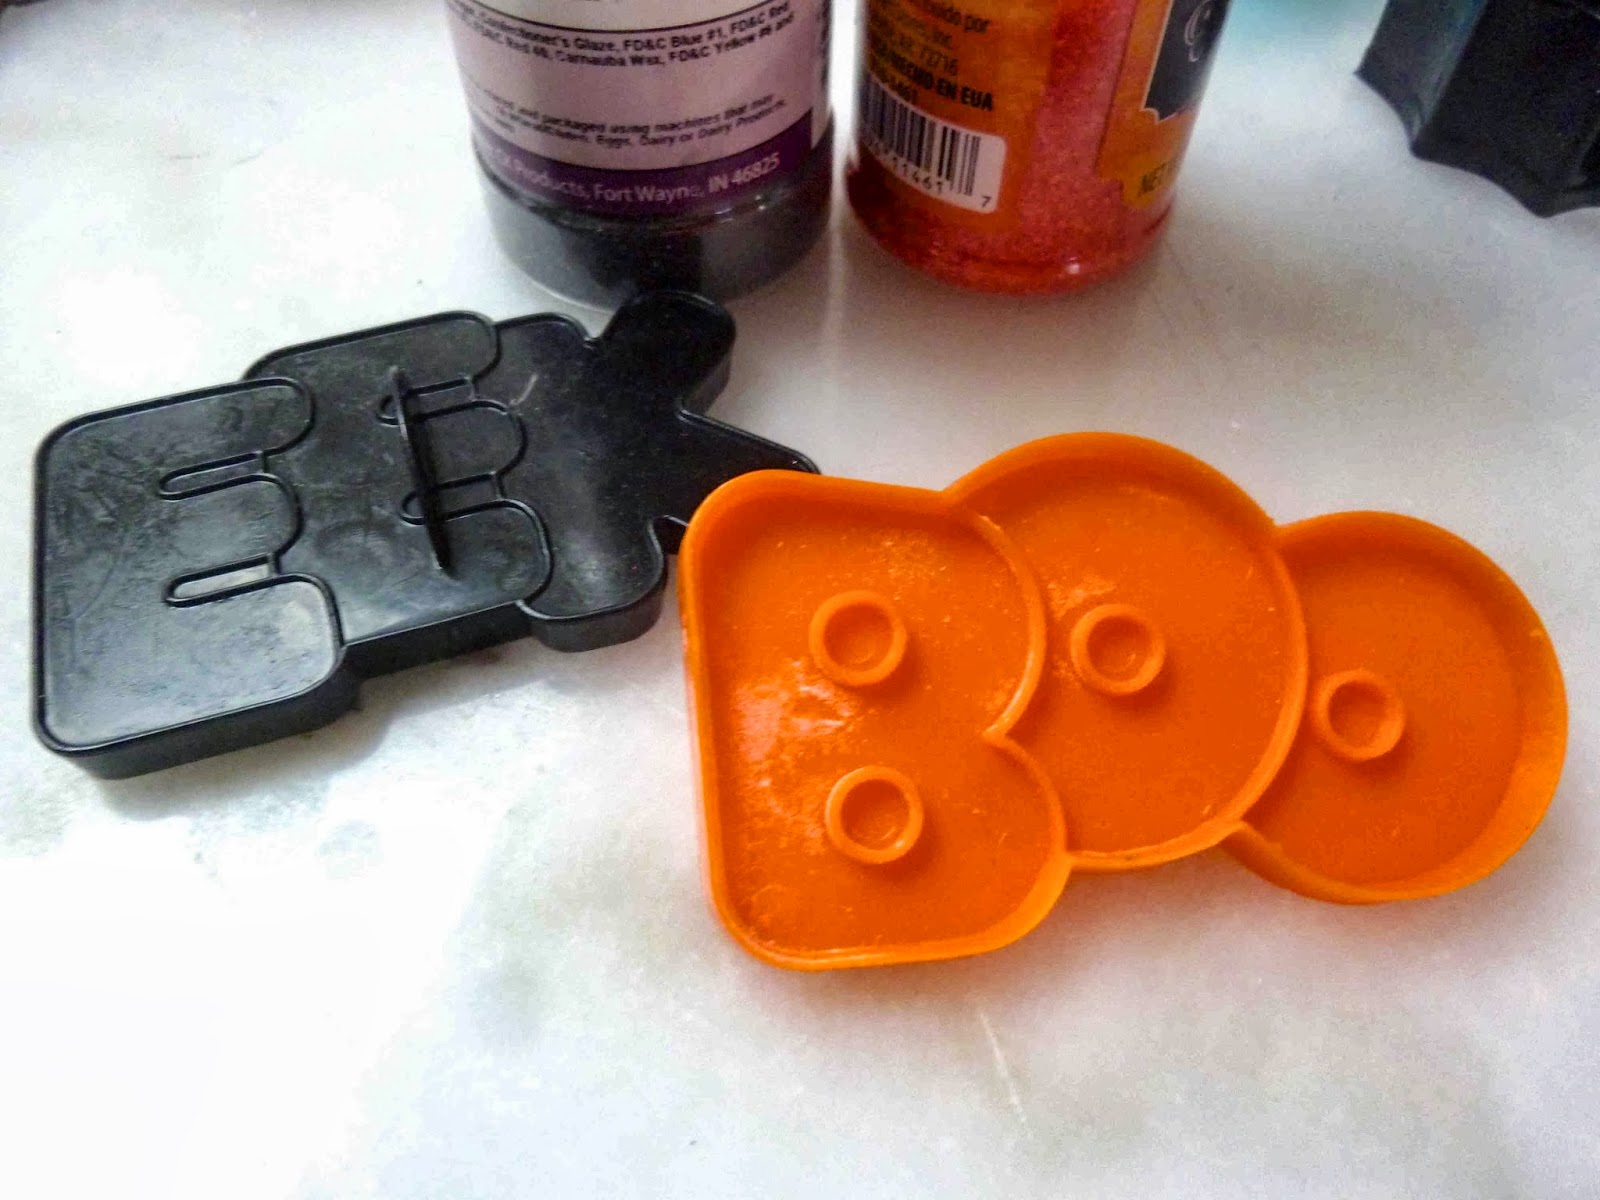
The cutters are from Wilton. I believe I found them at Michaels and they are part of a set of 10.
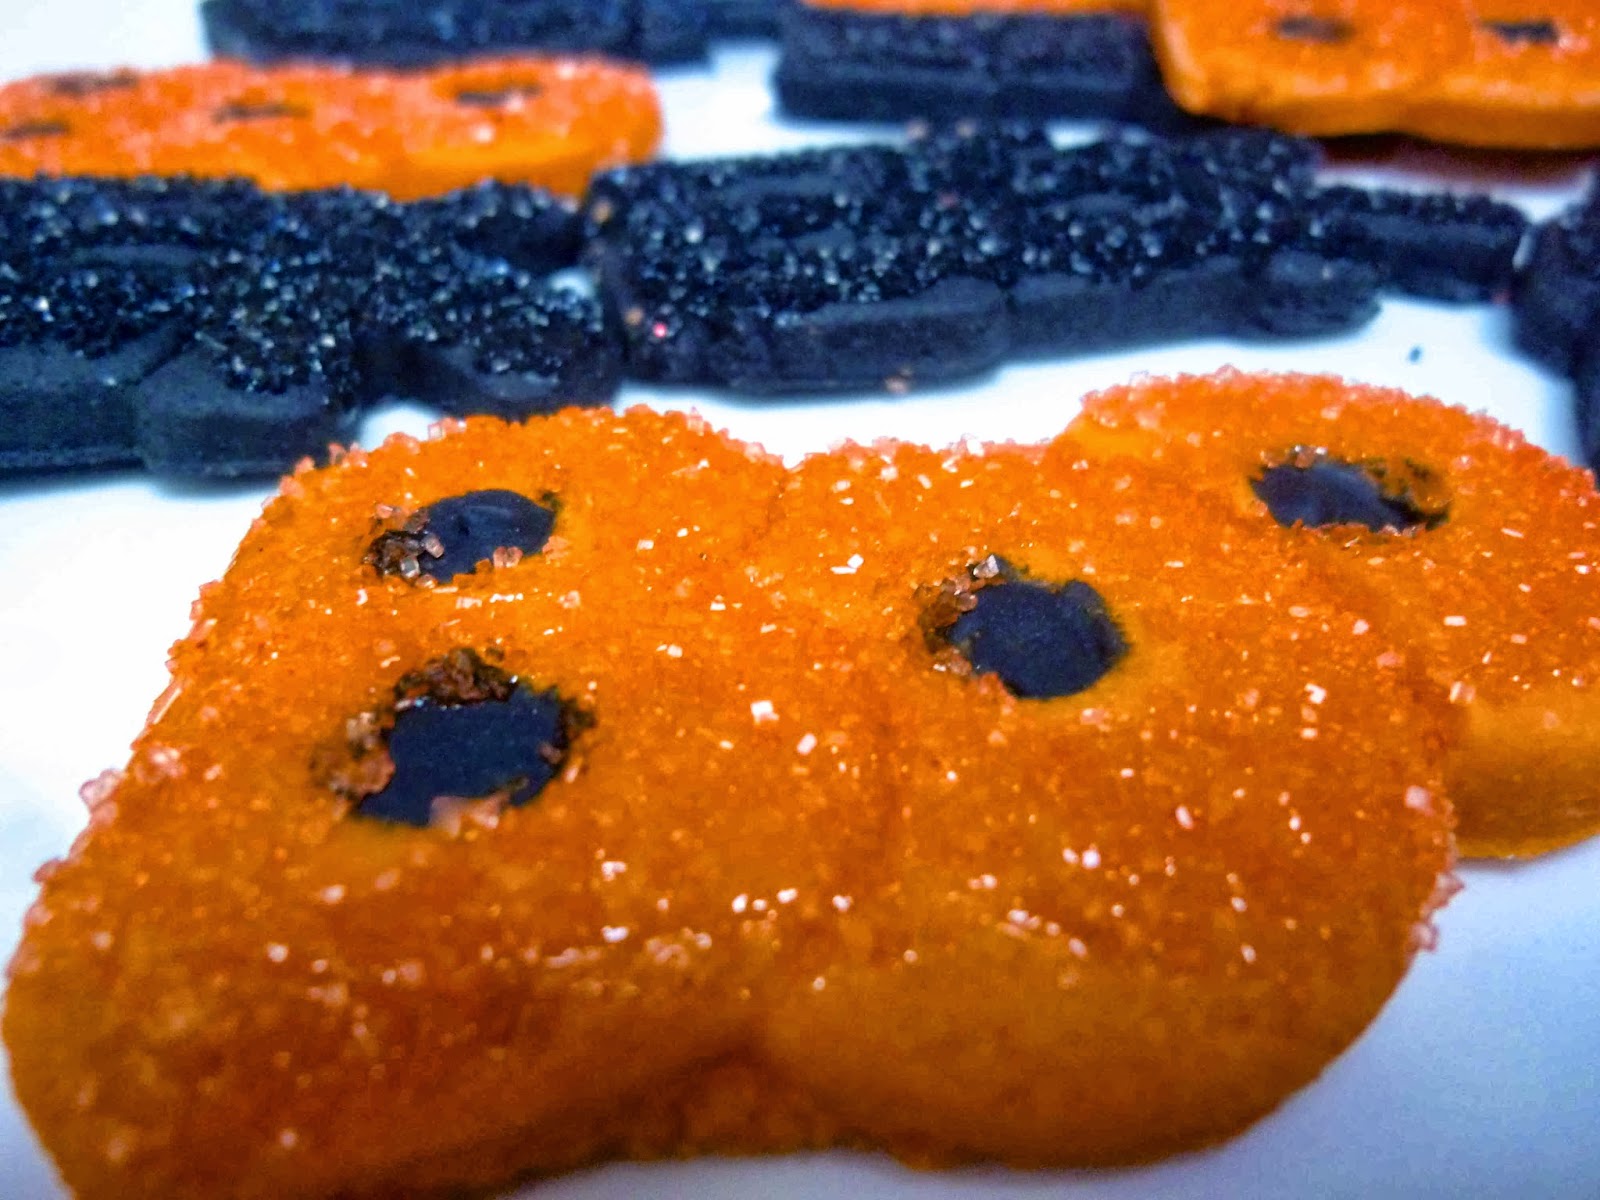
EEK and BOO cookies are a fun, easy idea and a change from all the cute pumpkin, ghost and witch cookies. Also a great idea to make these additionally to complement your cute pumpkin, ghost and witch cookies. Plus there’s no royal icing, so less design time.

Ingredients:
- Your favorite sugar cookie dough
- Black and orange paste food coloring
- Black edible marker
- Black and orange edible glitter
- Corn syrup
- small paintbrush
Directions:
- Preheat Oven to 350 degrees F
- Line baking sheets with parchment paper.
- Divide a ball of sugar cookie dough in half, tint one half black and the other orange with the paste food coloring.
- Roll out the cookies, cut out the shapes and place baking sheets in freezer for 10 minutes before baking.
- Bake for 8-10 minutes.
- Remove from oven and transfer to wire racks.
- After cookies have cooled completely, fill in the center of the B’s and the O’s with the black marker.
- One at a time, brush a very thin coat of corn syrup on the surface of each design, making sure you outline the word.
- Shake orange and black glitter over the respective cookies.
- Let dry for about 1/2 hour before serving.
3 comments
SUPER cute!
FUN! Love these cutters and that you simplified things by using coloured cookie dough and sprinkles!
You can't go wrong with cookies and sprinkles!